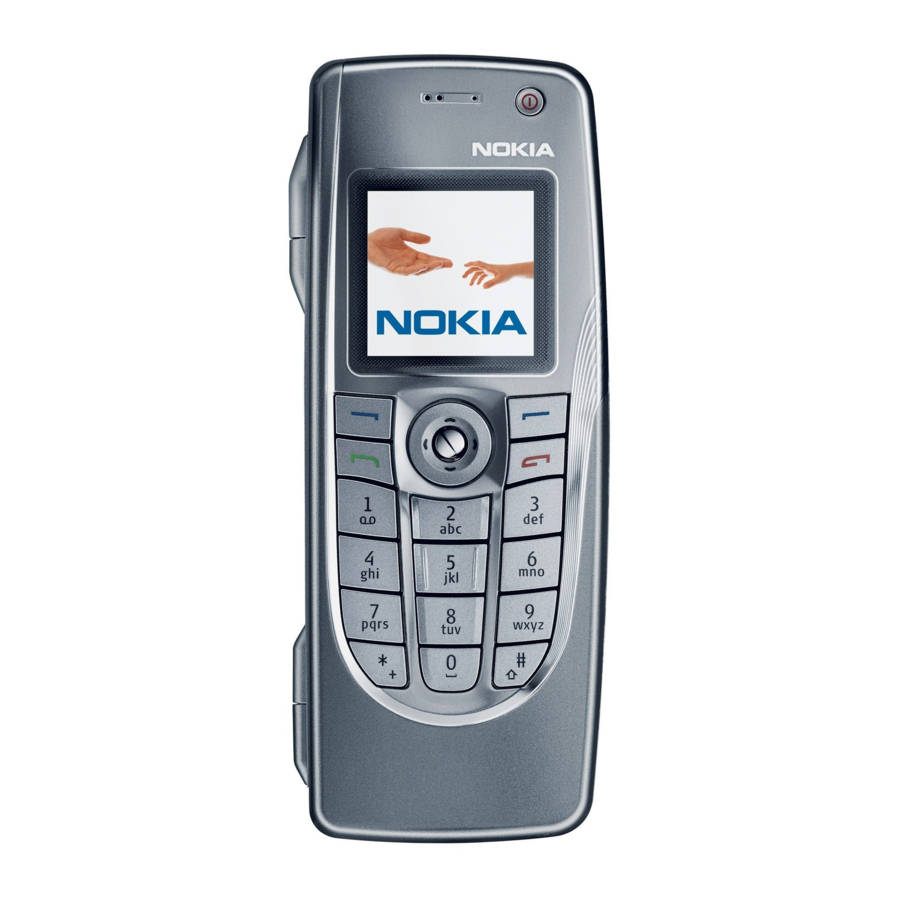
Summary of Contents for Nokia RA-8
- Page 1 Nokia Customer Care 5 - Disassembly/ Reassembly Instructions Issue 1 11/05 COMPANY CONFIDENTIAL Copyright © 2005 Nokia. All Rights Reserved.
- Page 2 RA-8 5 - Disassembly/Reassembly Instructions Nokia Customer Care [This page left intentionally blank] Issue 1 11/05 COMPANY CONFIDENTIAL Copyright © 2005 Nokia. All Rights Reserved.
- Page 3 RA-8 5 - Disassembly/Reassembly Instructions Nokia Customer Care Table of Contents Page No RA-8 Disassembly Instructions ................. 5 Reassembly ....................... 14 Issue 1 11/05 COMPANY CONFIDENTIAL Copyright © 2005 Nokia. All Rights Reserved.
- Page 4 RA-8 5 - Disassembly/Reassembly Instructions Nokia Customer Care [This page left intentionally blank] Issue 1 11/05 COMPANY CONFIDENTIAL Copyright © 2005 Nokia. All Rights Reserved.
- Page 5 Note to put back the Sealing Tape after the re-assem- bly. 5.) Push the Latch and open the A-Cover 6.) Protect the LCD Module with a film. Assy. COMPANY CONFIDENTIAL Issue 1 11/05 Copyright © 2005 Nokia. All Rights Reserved.
- Page 6 9.) The screws are not reusable. 10.) Open the flap carefully by using the dental tool. 11.) Remove the SHIELD in shown order. 12.) Remove the Power Key. Issue 1 11/05 COMPANY CONFIDENTIAL Copyright © 2005 Nokia. All Rights Reserved.
- Page 7 19.) Use a slotted screwdriver to unlock the 20.) The snap of the C-Cover is locked to snap. the Shield. Bend the snap a bit in the shown direction and push it out carefully. COMPANY CONFIDENTIAL Issue 1 11/05 Copyright © 2005 Nokia. All Rights Reserved.
- Page 8 26.) Unlock the hooks along the edge of the SRT-6 as a lever. Qwerty Keypad as shown. 27.) The same procedure on the shown 28.) Now, the Qwerty Keypad can be side. removed. Issue 1 11/05 COMPANY CONFIDENTIAL Copyright © 2005 Nokia. All Rights Reserved.
- Page 9 31.) Remove the DC-Jack by using the DC- start from the antenna side. plug. 32.) Remove the Microphone by using the 33. Remove the WLAN Antenna with dental tool. tweezers. COMPANY CONFIDENTIAL Issue 1 11/05 Copyright © 2005 Nokia. All Rights Reserved.
- Page 10 Coax Cable is defect, use always a new Antenna Assy and a new Coax Cable. First place the Antenna Assy onto the Shield and than connect the RF Coax Cable. Issue 1 11/05 COMPANY CONFIDENTIAL Copyright © 2005 Nokia. All Rights Reserved.
- Page 11 Do not follow the next steps (44- SRT-6 47) in case you have to swap the 1CP QWERTY Flex Module. Look forward to chapter 10 => SWAP UNIT Assembly (Edi- tional instructions). COMPANY CONFIDENTIAL Issue 1 11/05 Copyright © 2005 Nokia. All Rights Reserved.
- Page 12 Put the flex into the connector carefully by ® using the flex assembly tape. For assembly use a Torx Plus size 6 driver with a torque setting of 25Ncm. Issue 1 11/05 COMPANY CONFIDENTIAL Copyright © 2005 Nokia. All Rights Reserved.
- Page 13 For assembly only! For assembly only! Place the flex into the connector carefully. Close the connector carefully. Be sure that the contacts are clean when connecting the flex. COMPANY CONFIDENTIAL Issue 1 11/05 Copyright © 2005 Nokia. All Rights Reserved.
- Page 14 RA-8 5 - Disassembly/Reassembly Instructions Nokia Customer Care Reassembly Reassembly should be in reverse order to disassembly unless otherwise stated. Issue 1 11/05 COMPANY CONFIDENTIAL Copyright © 2005 Nokia. All Rights Reserved.


